How to Secure Your Mac: 6 Ways to Make It
Apple computers and state-of-the-art technology go hand in hand. For both casual and advanced users, it seems that Macs have no faults.
It’s true that their price is worth it for the most part. You pay a premium for premium features. On the other hand, such a mindset doesn’t necessarily translate into making the most out of what’s available on Macs. Or, worse, leaving yourself vulnerable to attacks.
Macs have a fair few built-in security features, but many users fail to recognize that and put the security tools to use. In not doing so, MacBook owners increase data exposure and invite cybersecurity threats to do as they please.
Let’s take a look at some of the best ways on how to secure your Mac so you don’t have to worry about security-related issues.
Install Antivirus Software
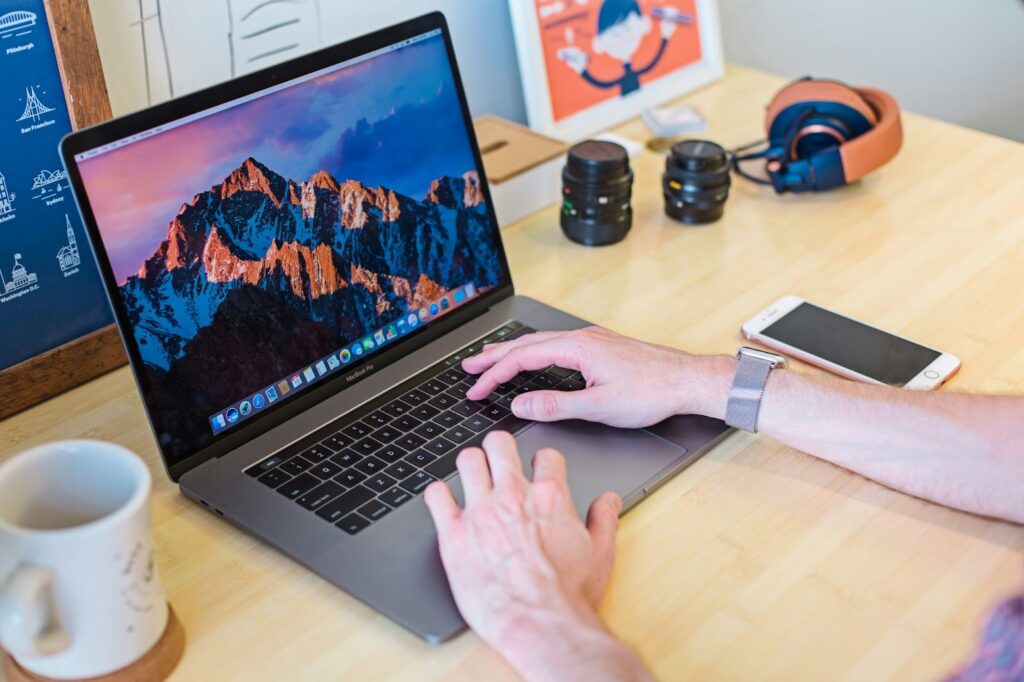
Start with antivirus software. Learning how to scan Mac for virus and other threats with the help of third-party software is a breeze.
Dedicated antivirus tools have an easy-to-use interface, so even less tech-savvy users shouldn’t have problems initiating a scan.
Once the scan finishes, check if the antivirus software found any threats. If it has, remove them. And if the scan is clean, you can move on.
As a rule of thumb, an antivirus tool should be running in the background at all times. At the same time, it is recommended to start an active scan on a regular basis (once a week or fortnight should be fine).
Stick to the Safe Boot
The Safe Boot feature might not seem like much security-wise, but it adds value. A Mac in safe modes disables startup items and, most importantly, third-party design features.
Troubleshooting startup errors is also possible, thanks to the mode.
How to check your secure boot setting Mac and ensure that it’s enabled? Sadly, you can’t check the status via Terminal or Command Prompt.
The secure boot setting is a firmware setting. This means that users have to go into the recovery environment and see if the option is enabled or disabled.
All in all, Secure Boot ensures that the device starts up using an actual legitimate operating system.
Some MacBook owners may want to disable the mode to legacy versions of other operating systems. Having said that, doing so exposes the computer, so it’s better to use Safe Boot as that extra security layer.
Update the Device
A new Mac update is another thing to look out for. Whenever one becomes available, it should be your priority to download and install it.
Even though macOS updates are not that frequent, regardless of whether it’s a major or a minor upgrade, don’t delay.
Most people associate operating system updates with new features and overall performance upgrades. However, don’t underestimate how valuable an update is for the MacBook’s security.
It’s possible that macOS engineers are pushing an update precisely because there is a new threat running rampant targeting MacBooks. And the longer you delay installing it, the higher the odds of attracting that unwanted malware.
Be Smart About the Password Usage
Whether it’s a password to access the MacBook or to log in to an online profile—be smart about how you manage your login credentials.
For starters, ensure that you use different passwords for different accounts. If possible, get in the habit of changing passwords regularly.
Memorizing too much information is not easy. Use a password manager. In addition to storing the information, modern password managers also generate unique and difficult passwords.
Mac users also have the option to save time logging into sites and applications that require login credentials, particularly if it’s multi-factor authentication.
Some of the most notable/popular password managers include Dashlane and 1Password. It’s up to you if you choose these or explore other options.
Use a Virtual Private Network

Disguise yourself online via a virtual private network. VPNs change your location and IP address while also encrypting data to build a wall between potential attackers and your MacBook.
If you decide to use a virtual private network, don’t bother with free services. They might be tempting to use because they don’t cost anything, but most, if not all, free VPNs will cost you more than a couple of dollars you spend using a legitimate network.
Free VPNs collect and sell user data, which is the opposite of what you want when looking to build a security routine while using a MacBook.
Back Up Data
The last bit of advice is to back up your data. It’s not a direct method to counter a security threat. Instead, treat it as a precaution. Even a relatively small malware can snowball out of control and corrupt or delete data.
It’s better to be safe than sorry. Don’t risk it and stick to one of the available data backup options (or use both).
The first is iCloud. The default (free) plan offers a few gigabytes of storage, but you can spend a few dollars per month or opt for a yearly plan to make enough space on your iCloud account.
The second option is to get an external hard drive and combine it with Time Machine—a built-in data backup and recovery tool for macOS.